Signing a transaction with Ledger
This guide details how to apply a Casa vault transaction signature using your Ledger Nano S or Ledger Nano X device.
Wallet registration (first sent transaction only)
Ledger devices have a security feature called wallet registration that requires you to verify all keys the first time you send a transaction from a new keyset. Whether you've just set up your vault or subaccount for the first time or have changed any of the keys in the set, the first time you sign a transaction from that keyset you will be prompted to verify each of the keys for the vault.
When you first connect your device to apply a signature to send funds, you will see a prompt on your Ledger device which says "Register wallet." Click both buttons on the Ledger to approve.
Note: You may see an error message during this process that indicates that the derivation path is unusual. This is expected and is part of Casa's multisig implementation. You can safely ignore this message.

On-screen device messaging for key registration
Sending transactions
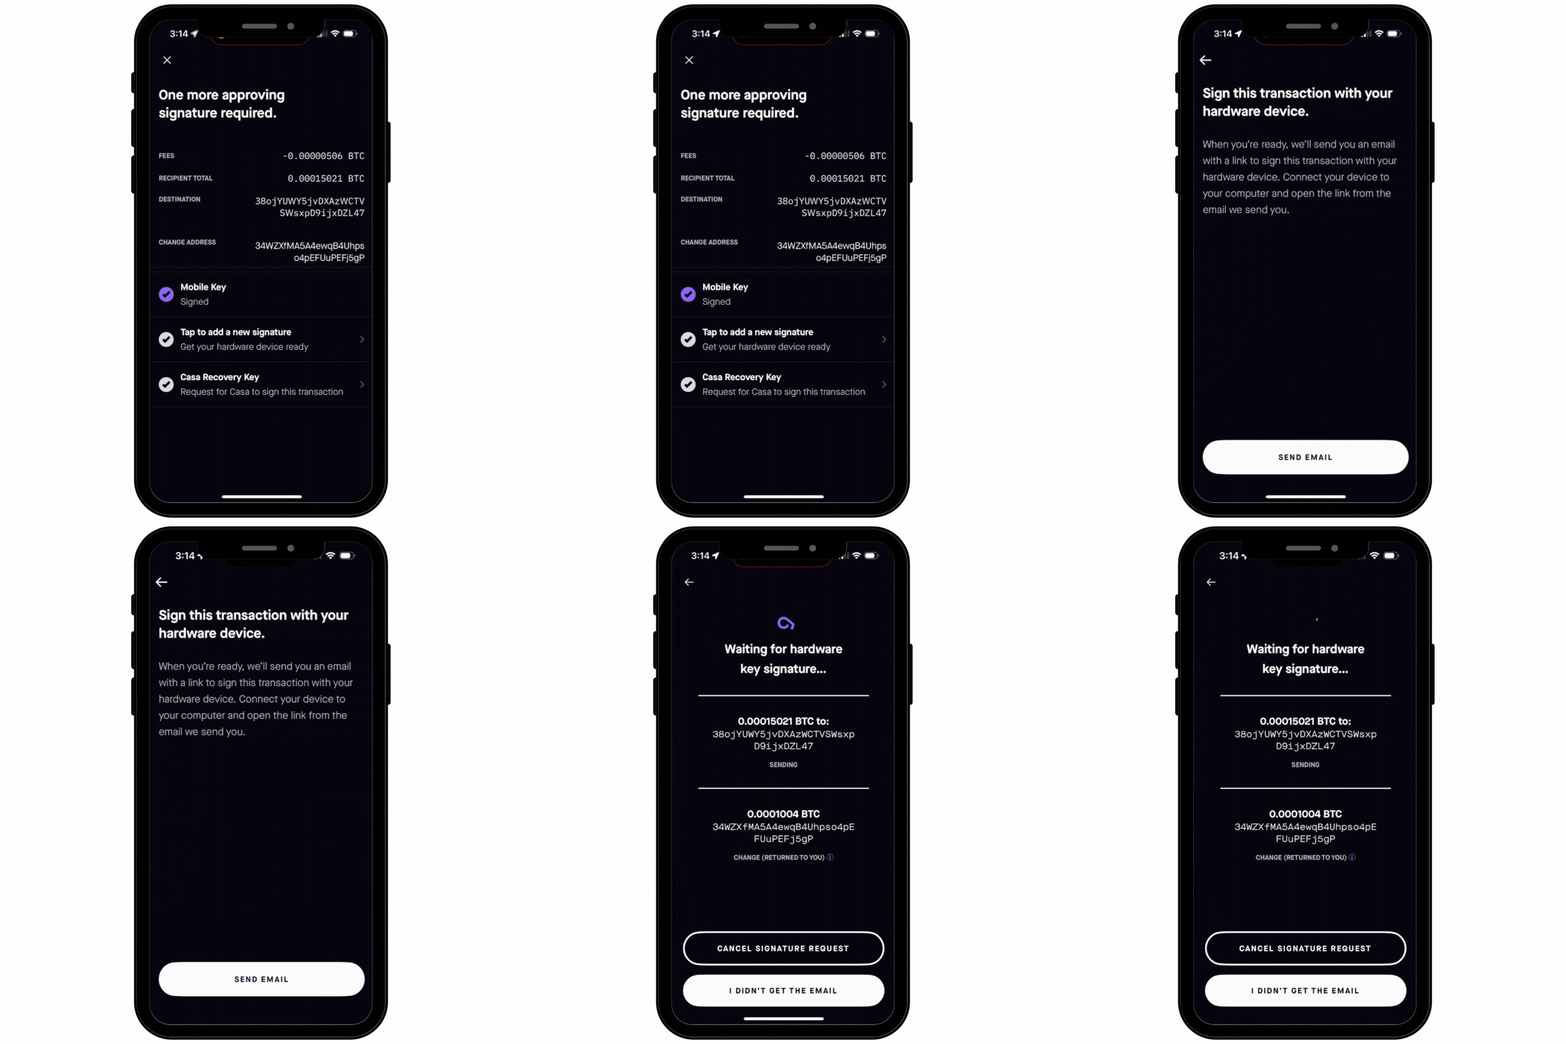
First, create a transaction as normal by tapping "Send" from your keyset. Enter the amount you want to send, then enter the address you're sending to, just like any other transaction.
When you begin signing the transaction with your hardware device, click, "Tap to add new signature," then tap "Send Email" on the next screen.

Next, click the email that Casa sends you from a laptop or desktop computer.

Didn't get the email? See: How to sign with a hardware device without email access.
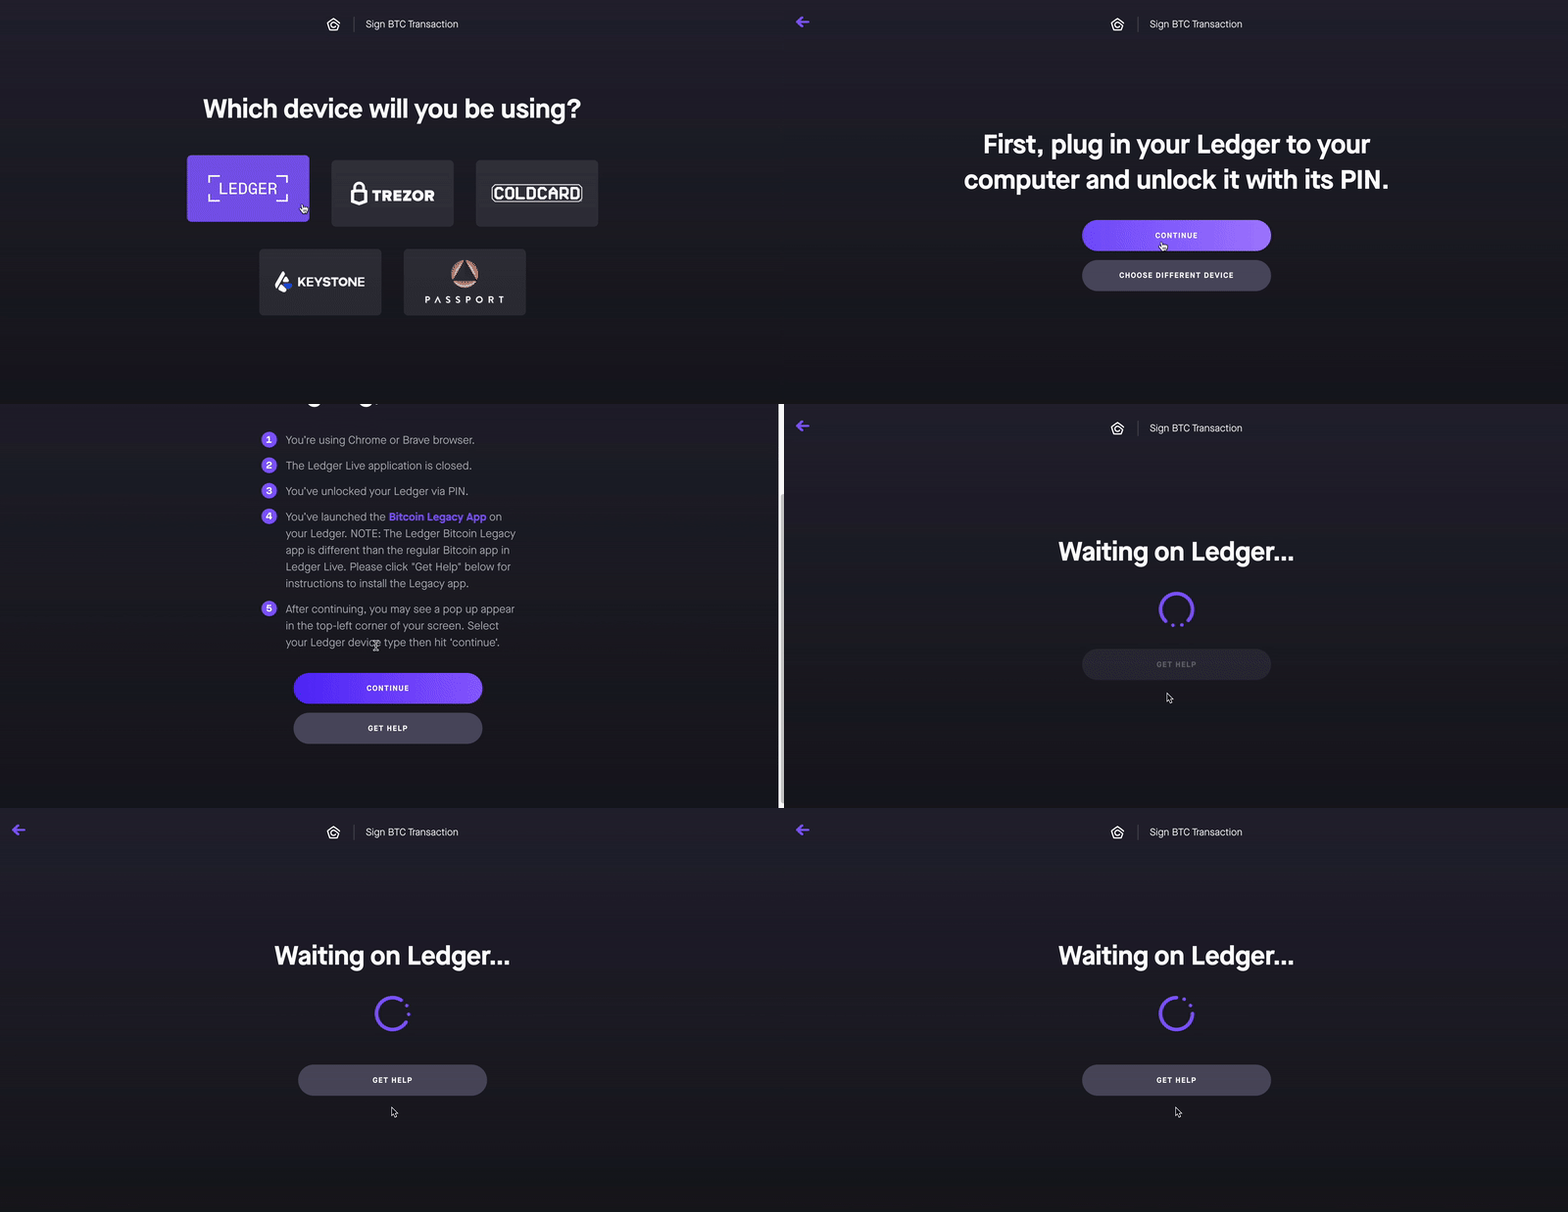
At this point, you will need to plug in your Ledger device, unlock it using your PIN, and open the "Bitcoin" application within the Ledger device.

Once you've plugged in your Ledger device, unlocked it with the PIN, and have opened up the bitcoin application on the device, follow the steps in your web browser (we recommend Chrome).
In the browser, select your Ledger device, click "Continue" at the relevant screens.
When your screen says "Waiting on Ledger," you must approve the signature from the Ledger device by reviewing the transaction details and pressing both top buttons on the Ledger simultaneously to give it the final confirmation. Once you do this, the signature is applied.

On the screen of the Ledger, you will see a screen that says "Spend from known wallet" (the wallet in this video is named "CasaMultisig-6," but yours may have a different number).
 On-screen device messaging for transaction signing
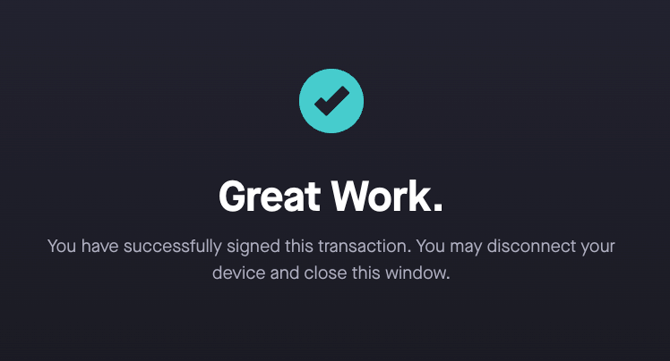
If your signature was successfully applied to the transaction, the web browser [on your computer] should display the following message:

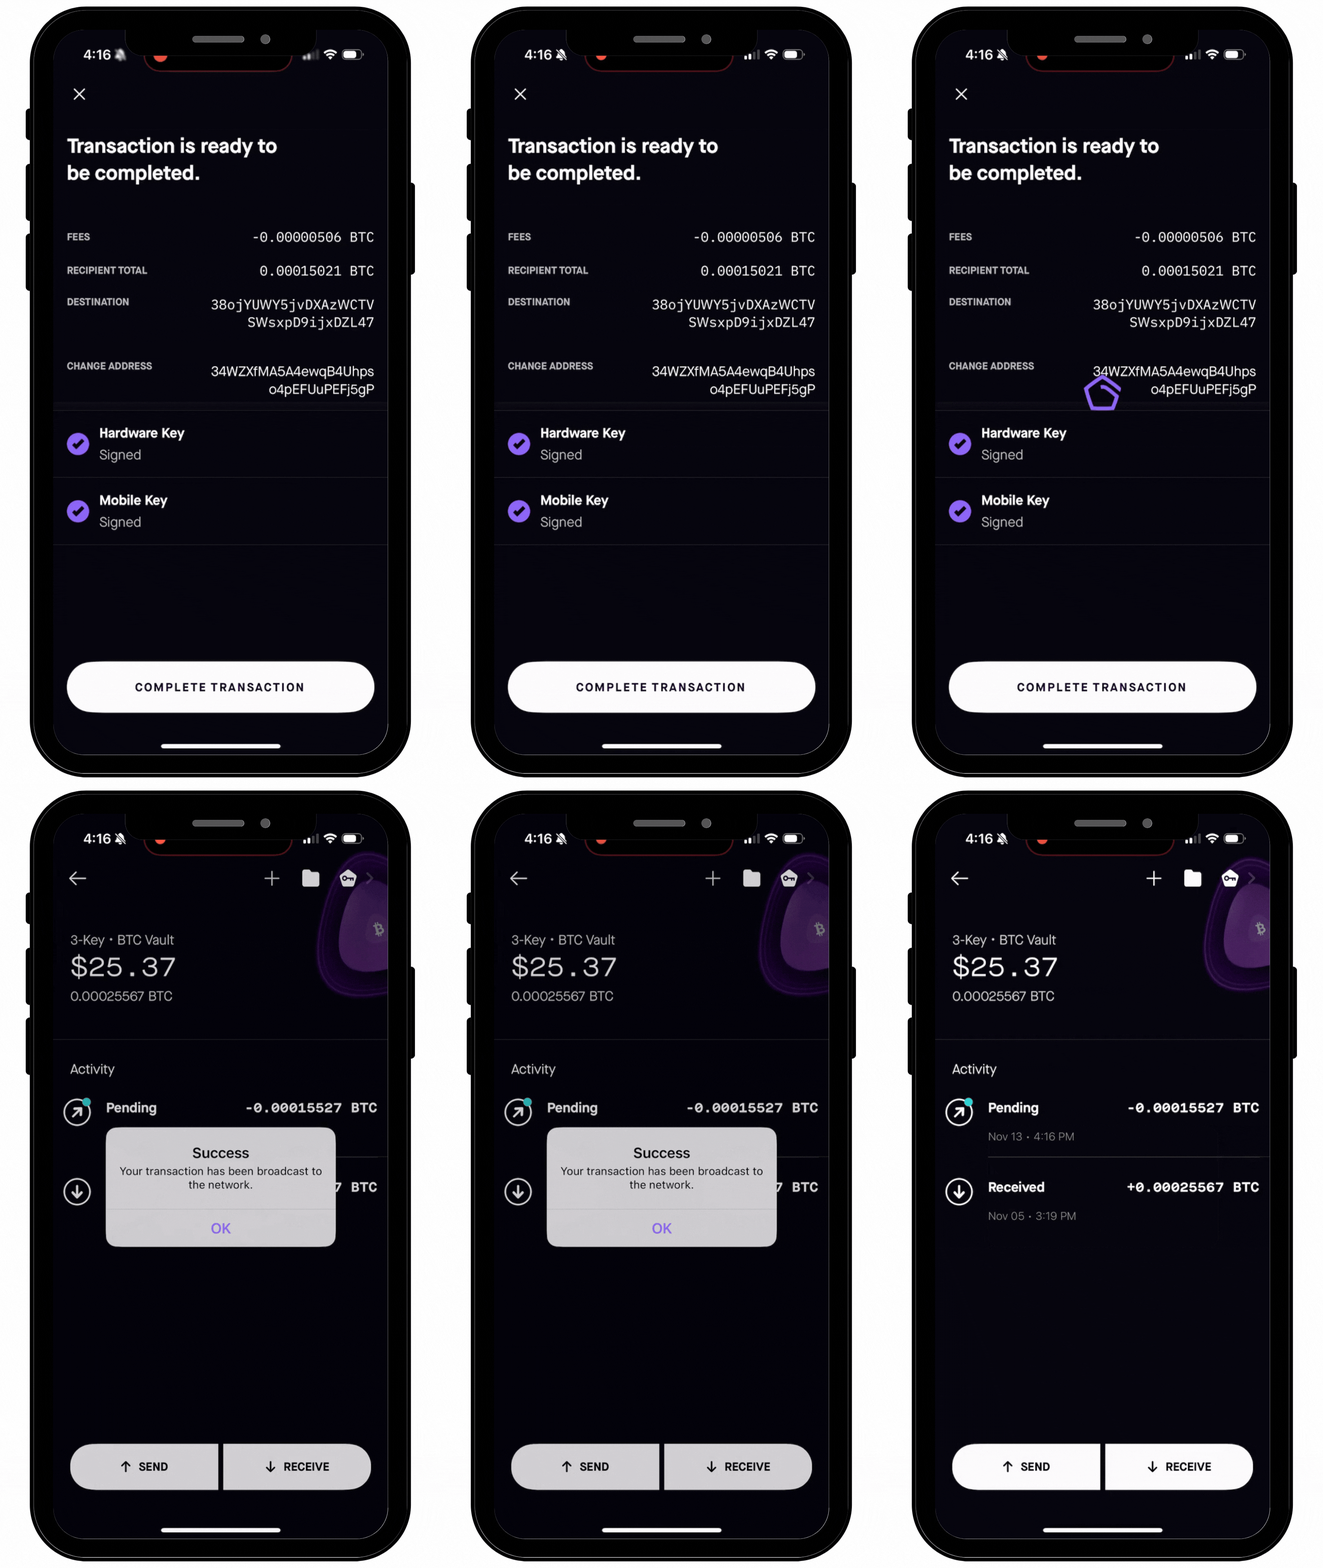
Once you apply the signature from your Ledger device, you can go back to the mobile app, apply another signature if needed, and send the transaction so it broadcasts to the network.

That's it! You've signed a transaction using your Ledger device.