TL;DR — Before you can add your Trezor Safe 3 to your Casa vault, you need to initialize it using the Trezor Suite desktop app. This takes around 15 minutes and involves installing firmware, writing down your seed phrase (the 12- or 24-word backup of the device's private key), and setting a PIN.
Not a Casa member yet? You can sign up here.
If you prefer a guided video, see Trezor’s official tutorial here:
What you’ll need
-
Trezor Safe 3 and its USB connecting cable
- Trezor Suite desktop app (the web version also works, but this guide follows the desktop app)
- The recovery seed card that came in the box and a pen
- Around 15 minutes
Check for tampering before you begin
Before plugging in or setting up your device, inspect the packaging. Confirm that:
- The cardboard seal on the outer box has not been broken
-
- The holographic seal covering the USB connector on the device itself has not been tampered with


If either seal shows any sign of tampering, do not use the device. Contact Trezor customer support to request a replacement.
Once your Trezor Safe 3 has been unboxed, head over to https://trezor.io/trezor-suite in your browser. You will have the choice either to download Trezor's desktop app, or use the web suite.
We recommend downloading the desktop app. The following instructions are written for the desktop app.
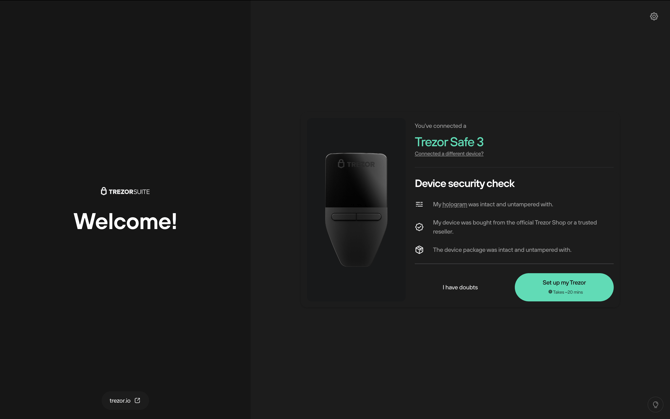
Once the Trezor Suite desktop app is up and running, connect your device and click 'Set up my Trezor':
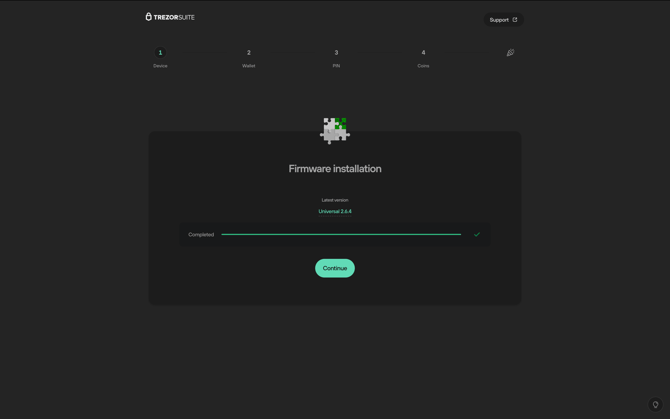
Your Trezor Safe 3 is shipped without firmware, so you'll need to install the latest version by clicking 'Install firmware':

After installing the latest firmware, click 'Continue':
Next, you will see the 'Let's check your device' screen. This crucial step verifies the authenticity of your Trezor Safe 3, ensuring it is genuine and secure for your use. To proceed, simply click 'Start':

Your Trezor Safe 3 will show the 'Authenticate device' screen. To proceed, simply press 'Allow' (right button). Once the device authentication is successfully completed, you can click 'Continue':
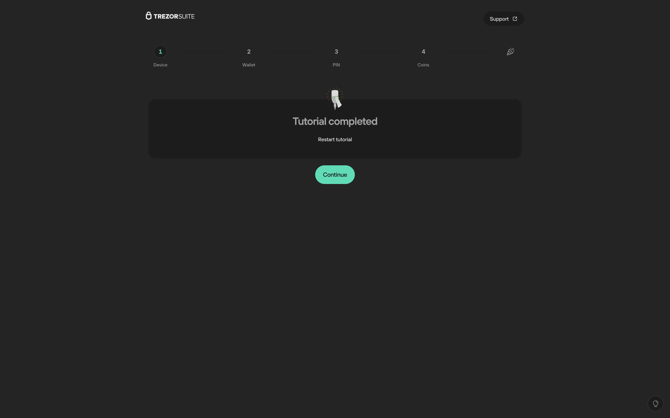
Now you'll see the 'Know your Trezor' screen; where you can get familiar with how to use your new Trezor Safe 3:
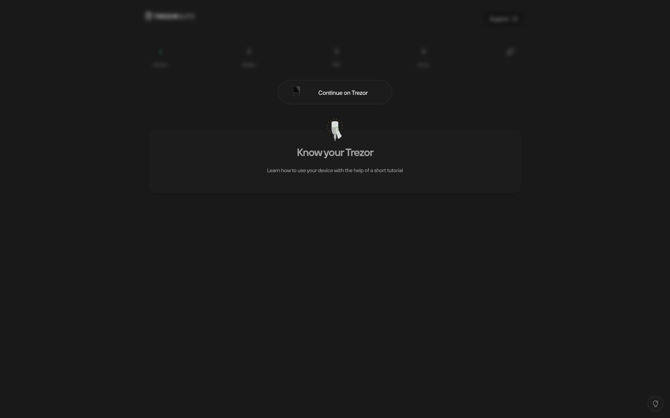
Follow the tutorial on your Trezor Safe 3 and click 'Continue' in Trezor Suite:
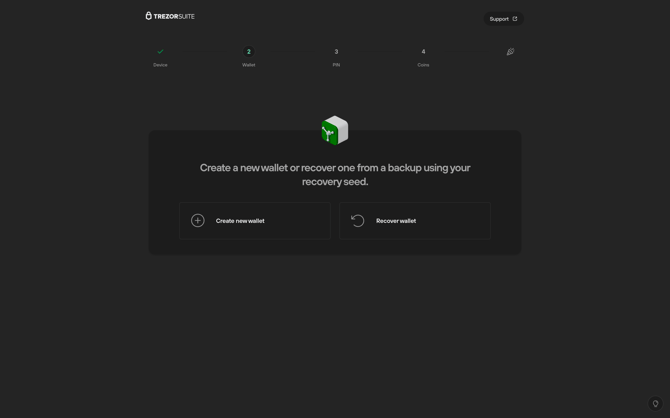
If this is your first time setting up your Trezor, select 'Create new wallet' in the next step.
Alternatively, select Recover wallet only if you are restoring a hardware key that was previously set up for use with your Casa vault. Do not reuse a seed phrase that already protects bitcoin held outside your vault, mixing keys across separate purposes reduces the security of both.
After selecting Create new wallet, you have the option to choose between 'Single-share Backup', 'Multi-share Backup', or 'Legacy Backup'. In this article, we will walk through the 'Legacy Backup' process.
Since Single-share and Multi-share backups are specific to Trezor, importing these wallets to other hardware brands could be problematic.
Using the 'Legacy' backup type ensures compatibility with any hardware or software wallet, making it easier to switch devices and providing the most reliable backup for sovereign recovery.
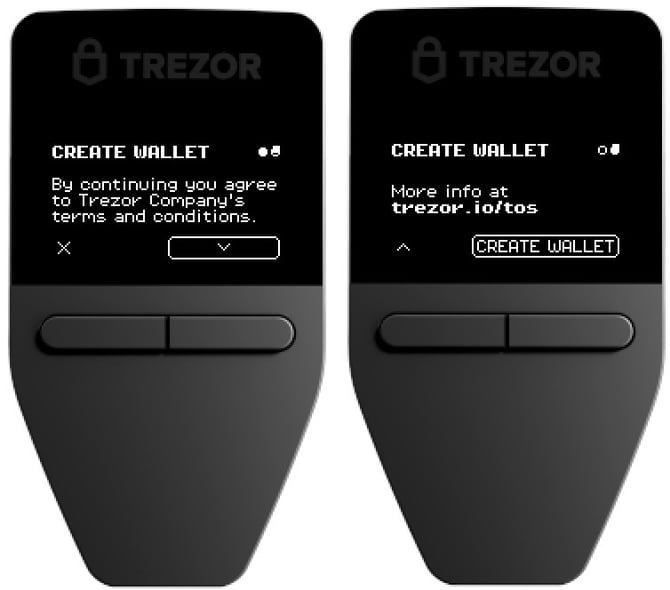
After selecting the 'Legacy backup' option, select either the 12-word or 24-word seed phrase option [up to you]. Now, your Trezor Safe 3 will prompt you to confirm this action. It will then ask you to review and accept the Terms and Conditions. Once you've done that, press the 'Create wallet' button on the right to move forward:
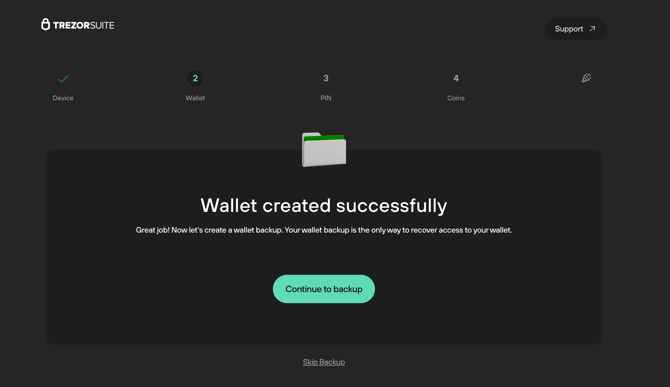
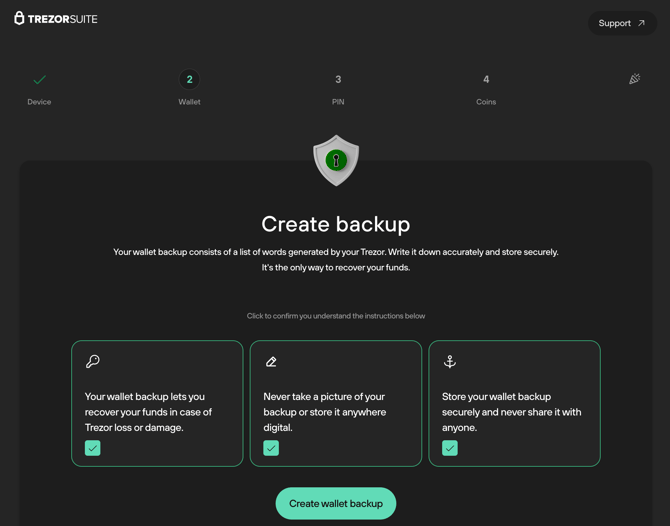
In the next step, you will create a backup by writing down your recovery seed phrase on the provided recovery seed cards. To begin, click 'Continue to backup':
You will then be asked to confirm your understanding of the backup instructions. Once all the instructions are marked with a green check, you can proceed by clicking 'Create wallet backup':
Your Trezor Safe 3 will prompt you to acknowledge the importance of not creating digital copies of your recovery seed. To continue, select 'OK, I understand' by pressing both buttons on the device simultaneously:

Your Trezor Safe 3 will now present you with a sequence of words drawn from the BIP39 word list, which will serve as your recovery seed backup. It is crucial to write down these words in the exact order they are displayed. You can utilize one of the provided recovery seed cards for this purpose to ensure your backup is secure and accurate.
Press 'Show words' (right button) to proceed.
This information is critical for the security of your Trezor and your funds. It is essential that you keep this recovery seed private and never share it with anyone. Always store it securely offline to protect your assets from unauthorized access.
After you have accurately written down all the words in the correct sequence, you will need to confirm this by pressing the 'Hold to confirm' button on the device:

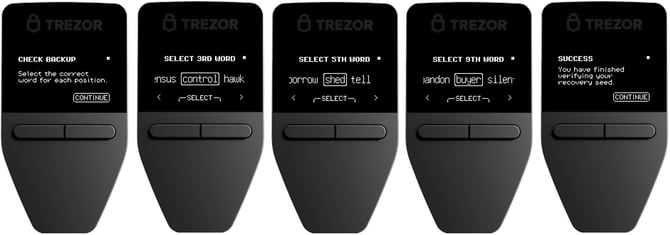
Next, you will need to verify your backup by selecting the words from your recovery seed as prompted by your device. Once you have successfully completed this verification, a message will appear stating, 'You have finished verifying your recovery seed.' At this point, you can proceed by clicking the Continue button:
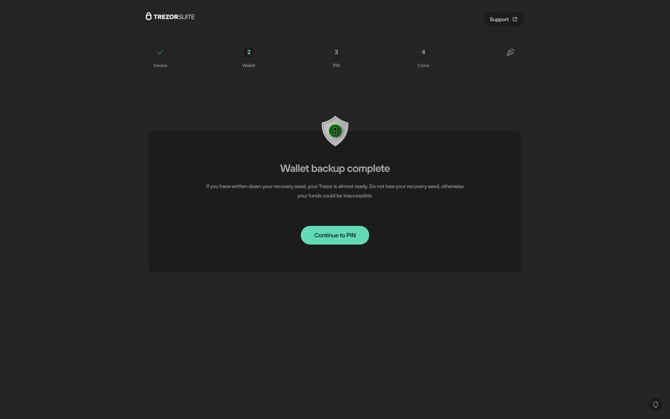
Now that your wallet backup is successfully completed, you can move on to setting up a PIN. To do this, go to Trezor Suite to see the 'Wallet backup complete' window, and select 'Continue to PIN':
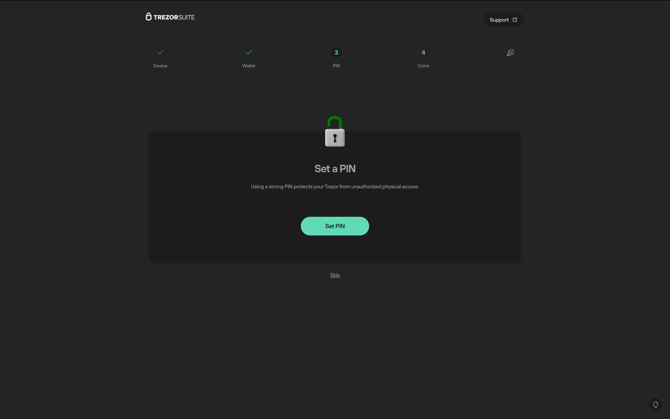
To safeguard your Trezor against unauthorized physical access, it is essential to set a strong PIN. While a minimum of 4 digits is recommended for security, you have the flexibility to create a PIN of up to 50 digits for enhanced protection.
One the next screen, select 'Set PIN':
Your Trezor will then ask 'Turn on PIN protection?'. To proceed, simply press the 'Turn on' button located on the right.
Once you've chosen 'Turn on,' you will need to input your new PIN directly on the Trezor Safe 3 by using the device's buttons.
To enter your desired PIN, use the left and right buttons on the Trezor Safe 3 to navigate through the numbers. When you reach the number you wish to select, press both buttons simultaneously. Remember to be mindful of the cursor's position that will shift each time you make a selection.
After successfully setting your PIN, your Trezor Safe 3 will show a confirmation message stating ‘PIN protection turned on’. Select 'Continue' to move forward in the setup process:

It is important to maintain a secure offline record of your PIN, ideally stored separately from your recovery seed to enhance your overall security.
Trezor Suite will now display the 'PIN set' confirmation window indicating that your PIN has been successfully set:
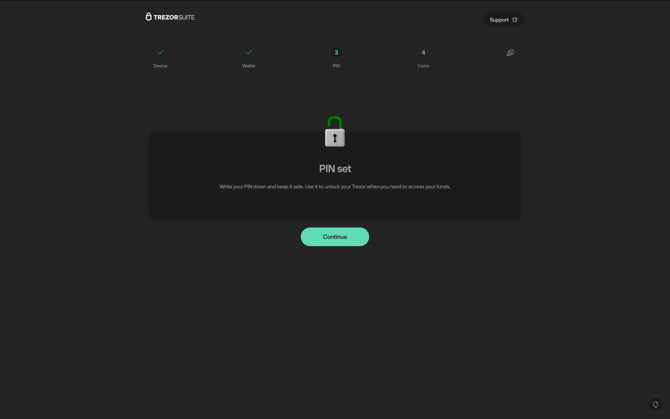
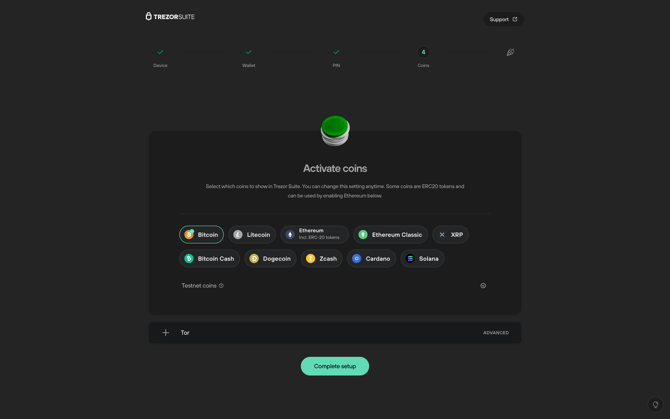
Click 'Continue' to access the 'Activate Coins' window. Here, you can select which cryptocurrencies you would like to display in Trezor Suite. Keep in mind that you can modify this selection at any time, as well as adjust other advanced settings to suit your preferences.
Reminder: you will only be able to check your balance on the Casa app and not on individual vault keys, making this selection optional.
Although Trezor supports 1000+ cryptocurrencies, Casa does not. Therefore, if you do choose to activate specific coins, limit the selection to BTC, ETH, stETH, USDT, USDC.
Once you’re happy with your selection of active coins, click 'Complete setup' and you’re all done:
For a more personalized experience, you can choose a name for your Trezor Safe 3 to tailor it to your Casa vault. For example, you can rename it as 'Home Key', 'Office Key', or 'Safe Key'. Just remember that this action must be confirmed on the Trezor Safe 3 device. Once you are done, click on 'Access Suite' to get started:
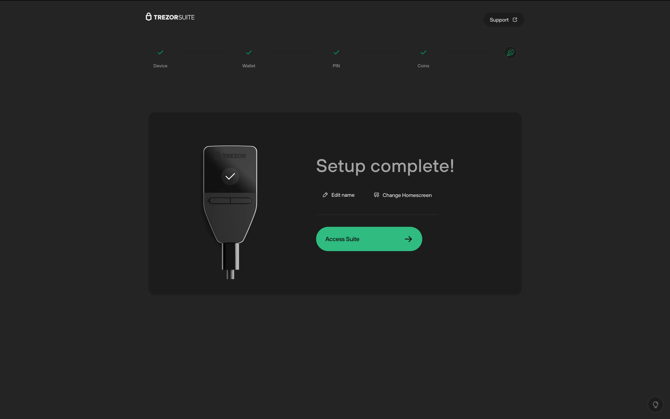
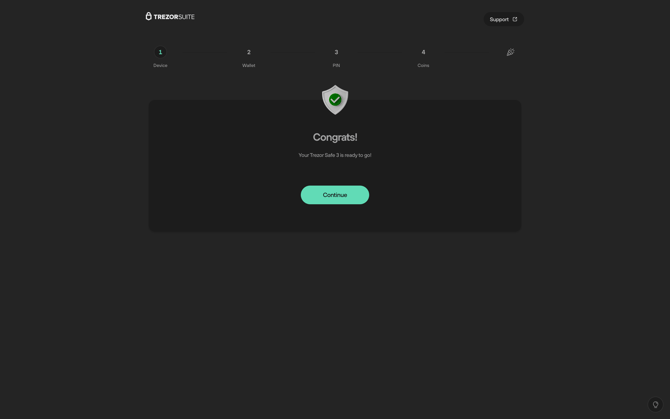
Congratulations! You have successfully initialized your Trezor Safe 3, your device is now fully set up and ready be connected to your vault:
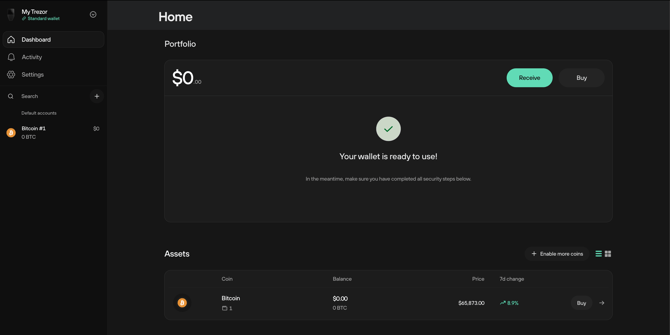
Next step — add your Trezor Safe 3 to your Casa vault
Still need help?
-
Standard and Standard Plus members: email help@team.casa with a description of the problem. Include a screenshot of any error message if possible.
-
Premium and Private Client members: contact your Client Advisor directly.