
TL;DR: Start the transaction in the Casa app and request a hardware signature by email. Open that email on a computer, connect and unlock your BitBox02, then review and approve the transaction on the device. The first time you sign from a new vault, your BitBox02 will also ask you to register the vault. Your private key never leaves the device, and the transaction is only sent once every required signature has been applied.
You need to finish adding all the keys to your vault before you can sign a transaction. If you have not added your BitBox02 to Casa yet, see Adding BitBox02 to your Casa vault. If you want to confirm your BitBox02 is ready without sending anything, see How to perform a health check with BitBox02.
What you'll need
- Your BitBox02 and its device password
- A laptop or desktop computer (a mobile phone will not work for the signing step)
- Chrome browser (recommended)
- The Casa app on your phone
- Access to the email address on your Casa account
Before you start: close the BitBoxApp on your computer if it is open. The BitBoxApp and your browser cannot connect to the BitBox02 at the same time.
Step 1: Create the transaction in the Casa app
In the Casa app, tap "Send" from your vault. Enter the amount you want to send, then enter the address you're sending to, just like any other transaction.
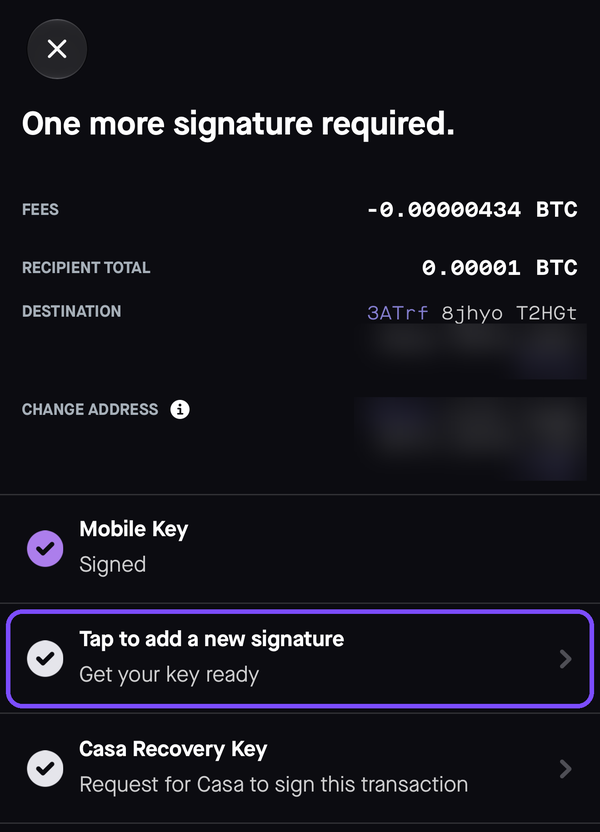
Once the first signature is applied, you'll see "One more signature required." Tap "Tap to add a new signature," then tap "Send Email" on the next screen.

Step 2: Open the signing email on your computer
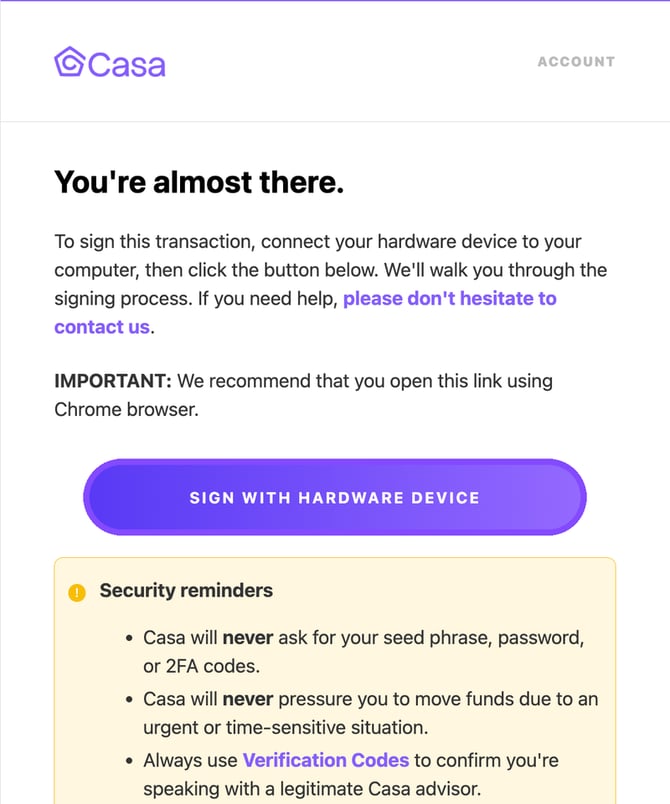
Casa will send you an email titled something like "Add your 3-key vault transaction's second signature" (or your 5-key vault's second or third signature). The email comes from no-reply@mail.keys.casa.
Open the email on your laptop or desktop computer and click "Sign With Hardware Device." We recommend using Chrome.
Didn't get the email? Check your spam or junk folder first. If it's not there, see How to sign with a hardware device without email access.
Step 3: Connect your BitBox02
Your browser will open the "Get your BitBox ready" page.
- Plug your BitBox02 into your computer. If the screen is asleep, tap either side of the device to wake it.
- If your computer or browser asks for permission to connect to the device, approve the request.
- Make sure the BitBoxApp is closed on your computer.
- Click "Continue."
Step 4: Unlock your BitBox02
Enter your device password directly on the BitBox02 to unlock it.
If this is the first time you have connected your BitBox02 in this browser, a pairing code will appear on your computer screen and on your BitBox02. Check that the two codes match exactly, then confirm on your BitBox02. Pairing confirms that your computer is talking to your device over a secure connection.
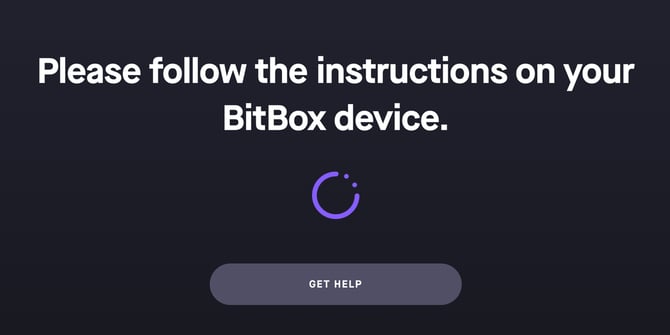
Once your BitBox02 is unlocked, your browser will show "Please follow the instructions on your BitBox device." The rest of the process happens on the BitBox02 itself.
Step 5: Register your vault (first transaction only)
The first time you sign a transaction from a new vault, your BitBox02 will ask you to register it. Registration lets your BitBox02 recognize your vault as a multisig wallet it belongs to, so it can verify every future transaction from that vault. You will see this again if you change any of the keys in your vault, since that creates a new key set.
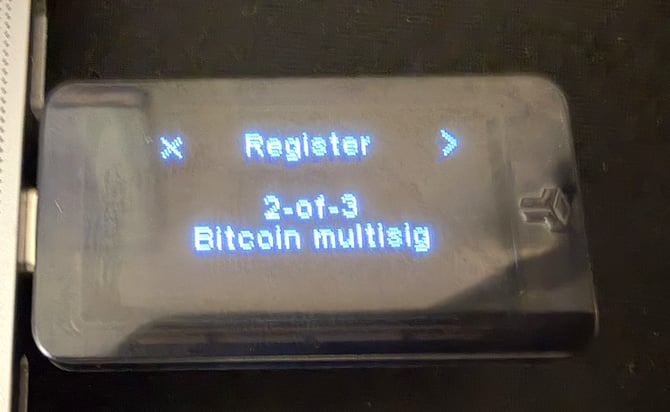
Your BitBox02 will show "Register" followed by your vault type, such as "2-of-3 Bitcoin multisig" for a 3-key vault. Tap the arrow on the right side of the screen to continue.
Next, the BitBox02 shows the address type and derivation path for your vault (for example, "p2wsh-p2sh at m/45'/0/6").
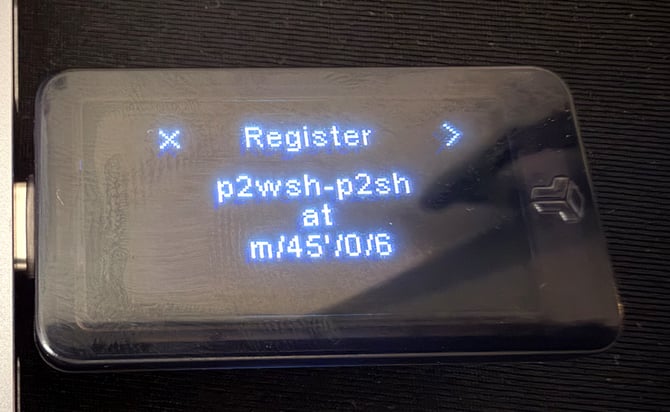
Note: This address type and derivation path are expected. They are part of Casa's multisig setup. The number at the end of the path may be different for your vault.
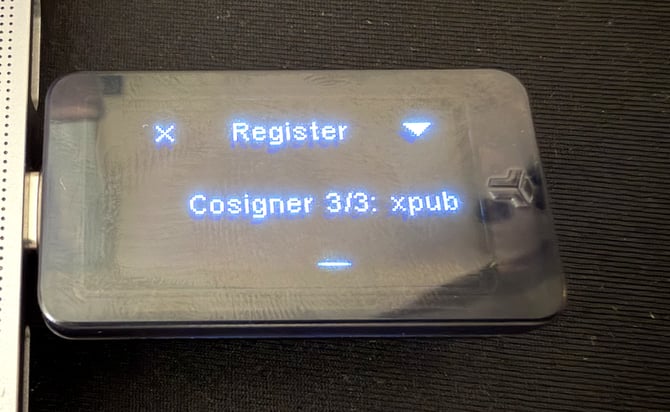
The BitBox02 then steps through each key in your vault, shown as "Cosigner 1/3," "Cosigner 2/3," and so on. Tap the arrow to move through each one, then confirm on the final screen to complete registration.
Step 6: Review and approve the transaction on your BitBox02
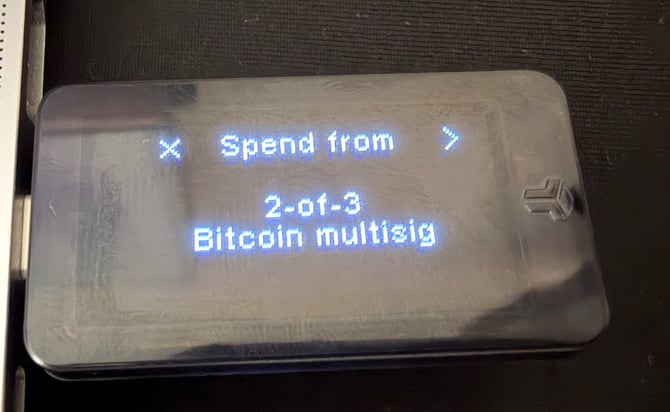
Your BitBox02 will show "Spend from" with your vault type, confirming the transaction is coming from your registered vault. Tap the arrow to continue.
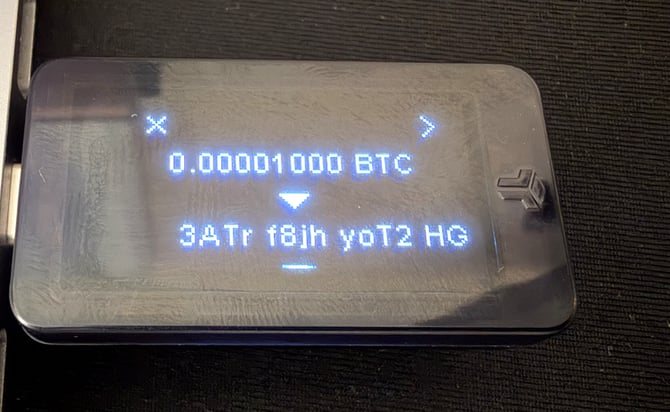
Next, the BitBox02 shows the amount you're sending and the recipient address. Compare the address on your BitBox02 with the destination address in the Casa app and confirm they match exactly. Tap the arrow to scroll through the full address.
Continue through the remaining screens, which show the network fee, then confirm on the final screen to apply your signature.
Step 7: Complete the transaction in the Casa app
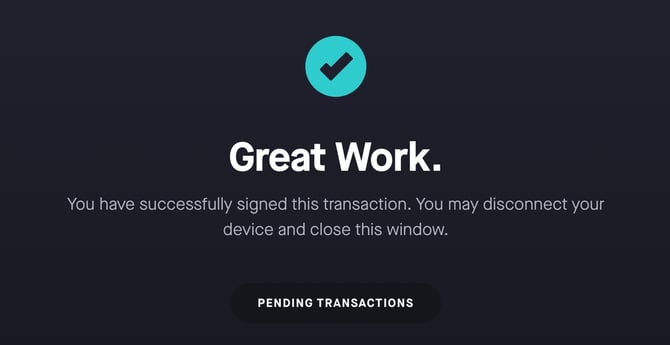
Once your signature is applied, your browser will show "Great Work." You can now disconnect your BitBox02 and close the browser window.
Go back to the Casa app. If your vault needs another signature, apply it now. When all required signatures have been applied, tap "Complete Transaction" to broadcast your transaction to the network.

That's it! You've signed a transaction using your BitBox02.
Troubleshooting
- The browser doesn't detect your BitBox02: close the BitBoxApp, make sure the device is plugged in and awake, and try again in Chrome. If it still doesn't connect, try a different USB port or cable. See Dongles and connector cables for your hardware device.
- The browser is stuck on "Please follow the instructions on your BitBox device": check the BitBox02 screen. It may be waiting for you to enter your password, confirm a pairing code, or tap through a screen. If nothing is showing, unplug the device, reopen the link from the email, and start again from Step 3.
- You can't access your email: see How to sign with a hardware device without email access.
- Something else isn't working: see Troubleshooting hardware device issues: where to start.
Still need help?
If you have followed these steps and are still experiencing an issue:
- Standard members: email help@team.casa with a description of the problem. Include a screenshot of any error message if possible.
- Premium and Private Client members: contact your Client Advisor directly.