
TL;DR: Before you can add your BitBox02 to your Casa vault, you need to initialize it using the BitBoxApp. This takes around 15 to 20 minutes and involves checking the packaging, installing firmware, confirming a pairing code, creating a new wallet, setting a device password, and writing down and verifying your 24 recovery words (your seed phrase). Once setup is complete, you will add the device to your Casa vault through the Casa app.
BitBox02 is compatible with Casa BTC vaults. It is not currently compatible with Casa ETH vaults.
What you'll need
- BitBox02 and the USB-C cable included in the box (use the included USB-A adapter if your computer doesn't have a USB-C port)
- A pen and paper (or a metal backup) to write down your 24 recovery words. You won't need the microSD card for this method.
- A private place where nobody can see or record your screen
- A Windows, macOS, or Linux computer
- The BitBoxApp, downloaded only from BitBox's official site
- Around 15 to 20 minutes
Step 1: Check for tampering before you begin
Your BitBox02 ships in a sealed, clear vacuum bag. Before opening it, confirm that:
- The gray seal pattern runs continuously along all four sealed edges of the bag
- There are no cuts, punctures, tears, opened seams, or signs of resealing
If the bag or its seals show any sign of tampering, do not open it or connect the device. Contact BitBox support to request a replacement.
Step 2: Download the BitBoxApp
Go to bitbox.swiss/download, choose your operating system, then install and open the BitBoxApp.
We recommend the desktop app. The following instructions are written for the desktop app.
Step 3: Connect your BitBox02
Open the BitBoxApp, then connect your BitBox02 to your computer with the included cable. The device powers on automatically and shows 'See the BitBoxApp'. The BitBoxApp automatically checks that your BitBox02 is genuine.
If your BitBox02 shows 'Tap this side', hold it with the display facing you and tap the long edge beside the text you can read upright. This sets which way the screen faces.
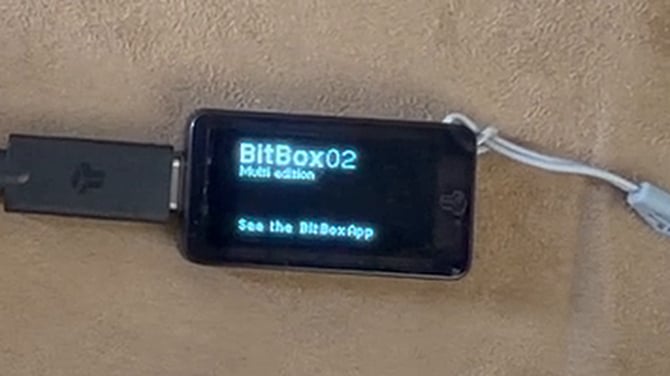
If the BitBoxApp shows an authenticity warning, disconnect the device, do not continue setup, and contact BitBox support.
Step 4: Install the latest firmware
New devices need a firmware update. Click 'Upgrade firmware now'.
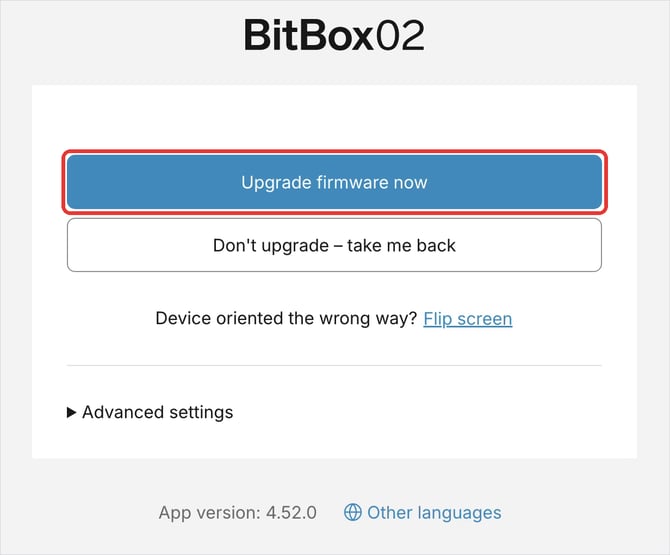
The BitBoxApp may run two updates back to back. This takes a few minutes, and your BitBox02 shows the progress on its screen. Keep your BitBox02 connected and the BitBoxApp open until all updates are complete.
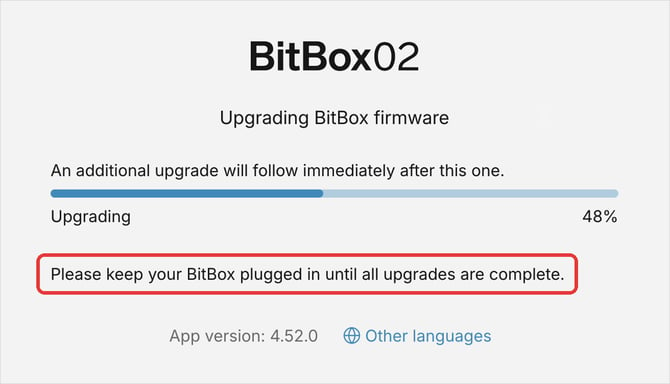
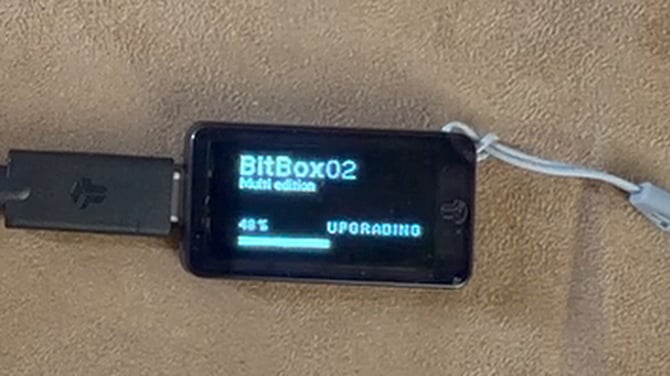
Only use the BitBox02 firmware versions recommended by Casa. These versions are tested by our engineering team and confirmed to work with Casa.
Step 5: Continue on the device and confirm the pairing code
When the updates finish, the BitBoxApp shows 'Welcome' and your BitBox02 asks you to continue. If it shows 'Tap this side', hold it with the display facing you and tap the long edge beside the text you can read upright.
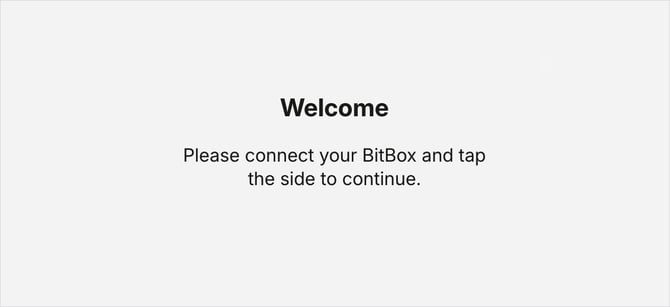
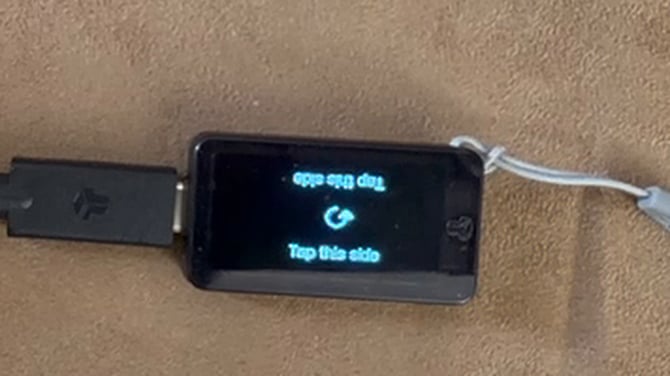
The BitBoxApp and your BitBox02 will then each display a pairing code. Compare the complete code on both screens. If they match, tap the device's touch edge beside the checkmark to confirm.
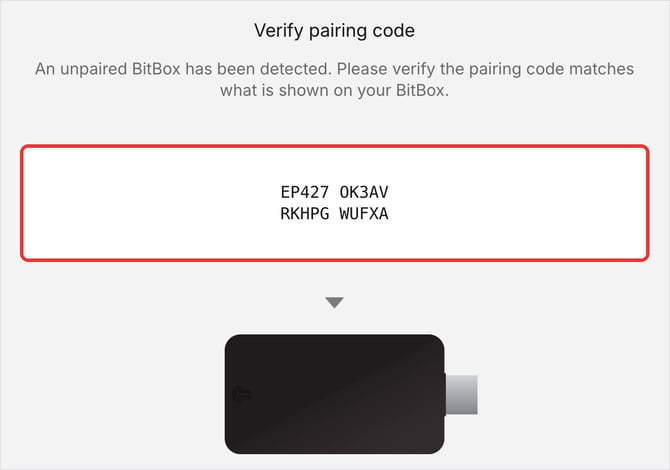
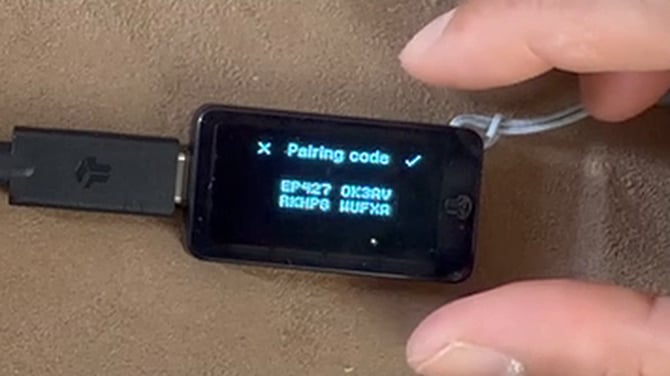
If the codes do not match, do not confirm. Close the BitBoxApp, make sure it was downloaded from BitBox's official website, reconnect, and compare again. If the codes still do not match, contact BitBox support.
Once you've confirmed on the device, click 'Continue' in the BitBoxApp.
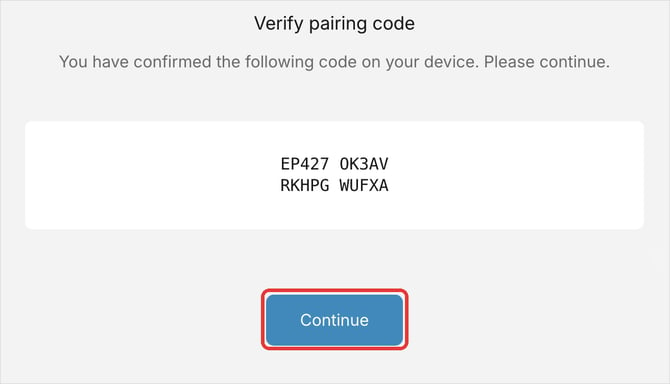
Step 6: Choose the recovery words backup and create a new wallet
On the 'Setup your wallet' screen, before selecting 'Create wallet', click 'Advanced options' below the 'Create wallet' button.
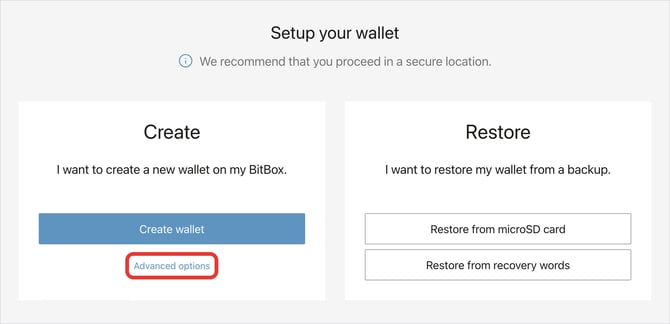
Two options appear:
- 'Skip microSD card backup and write down recovery words instead': turn this on.
- 'Create 12-word instead of 24-word seed': leave this off to create the default 24-word seed phrase. The number of words cannot be changed later.
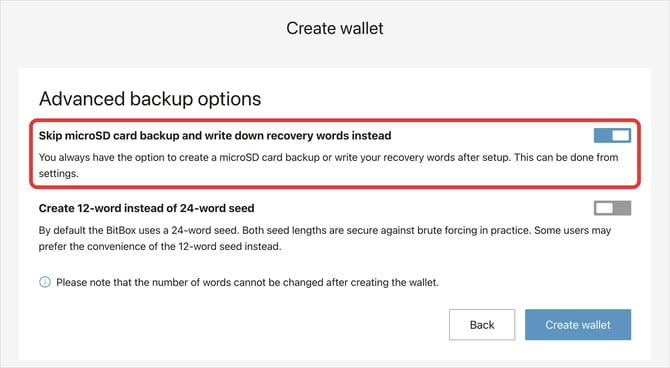
Then select 'Create wallet'. This creates a new wallet and does not restore an old one.
Step 7: Name your device
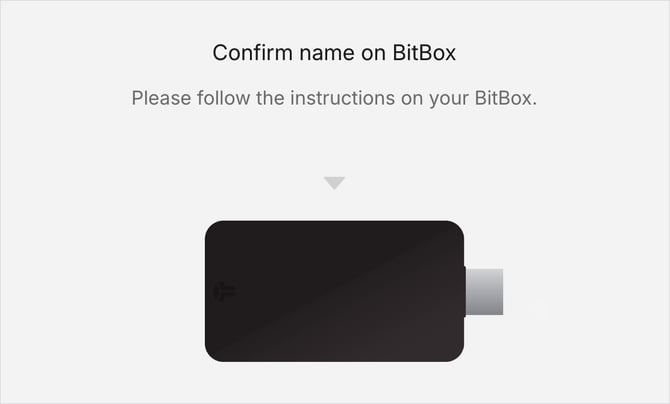
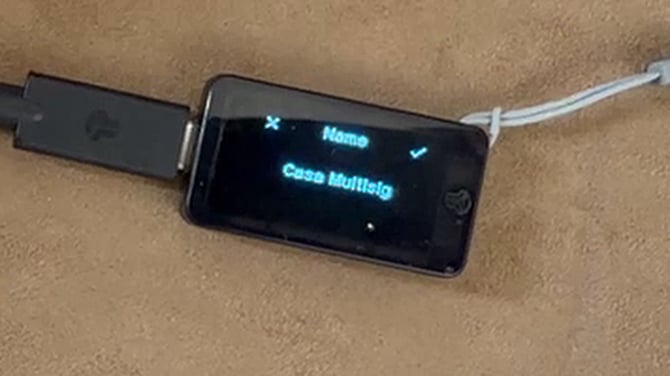
Enter a name in the 'BitBox name' field and click 'Continue'. Choose something that makes its purpose clear, such as 'Casa Multisig' or its role in your vault, like 'Home Key'.
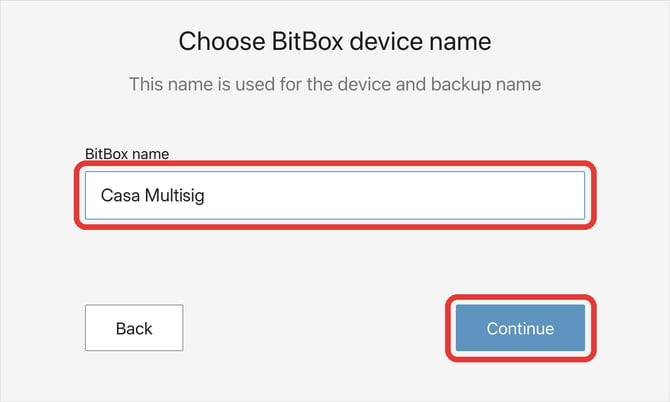
Your BitBox02 will show the name. Check it, then tap the upper touch edge beside the checkmark to confirm.
Step 8: Set your device password
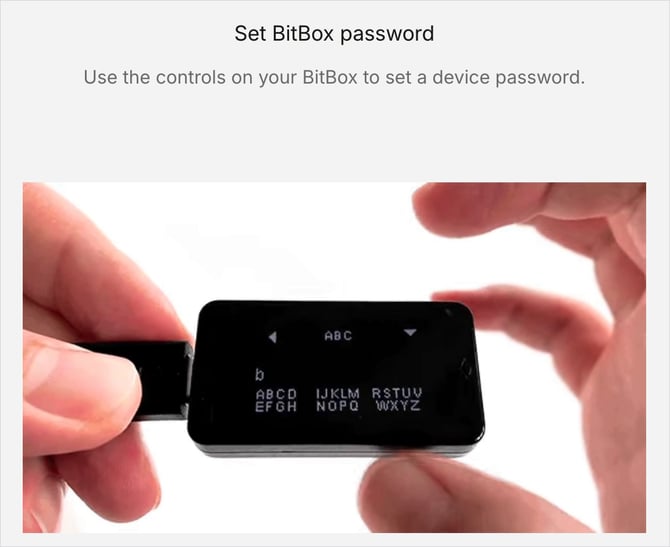
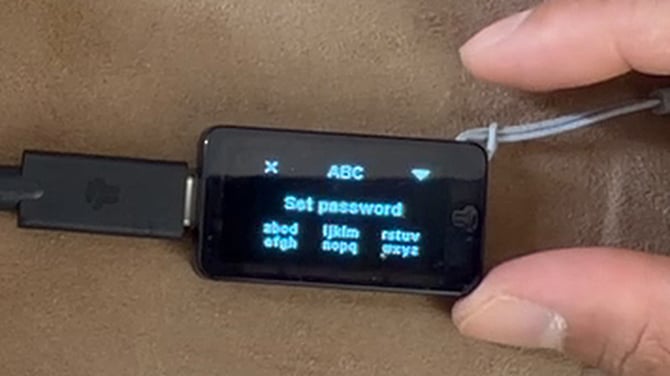
Next, set a password on your BitBox02. The BitBoxApp shows a short animation of how the touch controls work:
- Tap the lower touch edge to move through the character groups, then select the individual character.
- Tap the upper touch edge above the character-set label (for example 'ABC') to switch between letters and numbers.
- When you've entered the full password, touch and hold both long sides of the device with two fingers to confirm.
Re-enter the same password and confirm again. Your BitBox02 shows 'Success' when it's set.
It's very important that you do not forget this password. It cannot be changed without resetting the device, and the BitBox02 will reset itself after [[10]] incorrect attempts. Never reset your BitBox02 unless you have your verified recovery words or your Casa vault's other keys are healthy.
This password protects access to the device. It does not protect your written recovery words, so anyone who sees them could restore your key.
If you use multiple hardware devices, we recommend using the same password across all of them and saving it in an encrypted password manager. Store it separately from your recovery words.
Step 9: Write down your recovery words
Before you start, make sure you are in a private place where nobody can see or record your screen or your paper.
On the 'Create backup' screen in the BitBoxApp, read each security statement, check every box, and click 'Continue'.
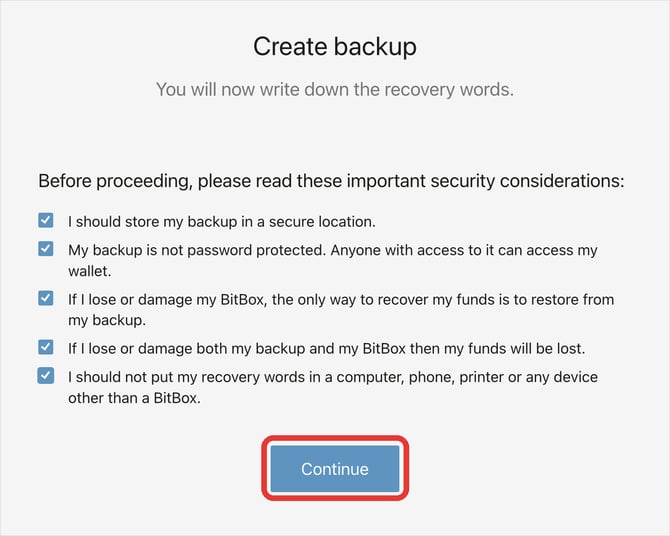
Note: the checklist says your backup is the only way to recover your funds if you lose your BitBox02. In a Casa vault, that's not the case. Your BitBox02 is one of several keys, so if it's lost or damaged you can replace it using your remaining keys through a key rotation.
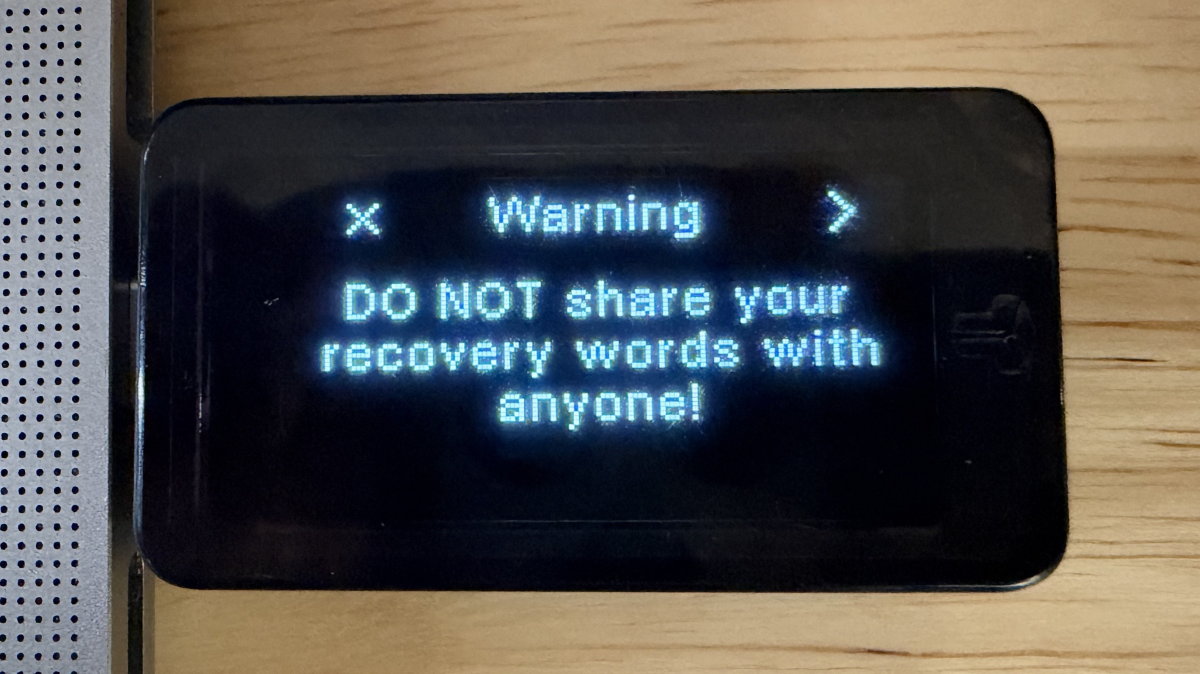
Your BitBox02 shows 'Warning: DO NOT share your recovery words with anyone!' Read it, then tap the touch edge beside the arrow (>) to continue.
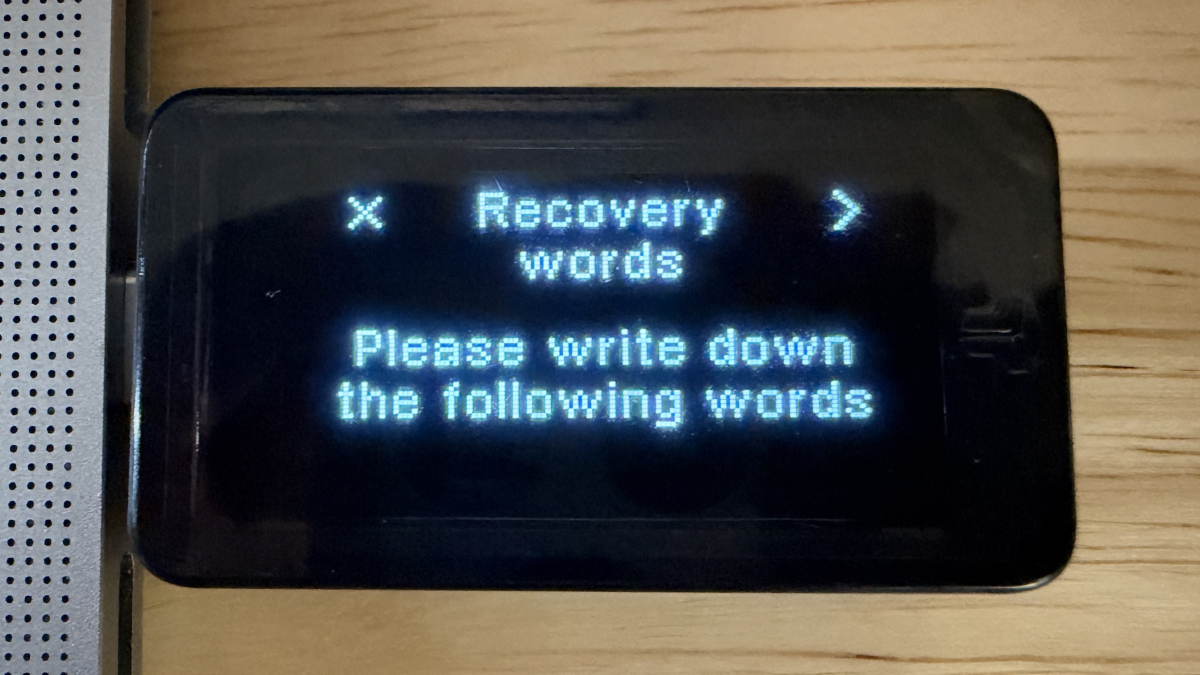
Next it shows 'Recovery words: Please write down the following words'. Tap beside the arrow again to see the first word.
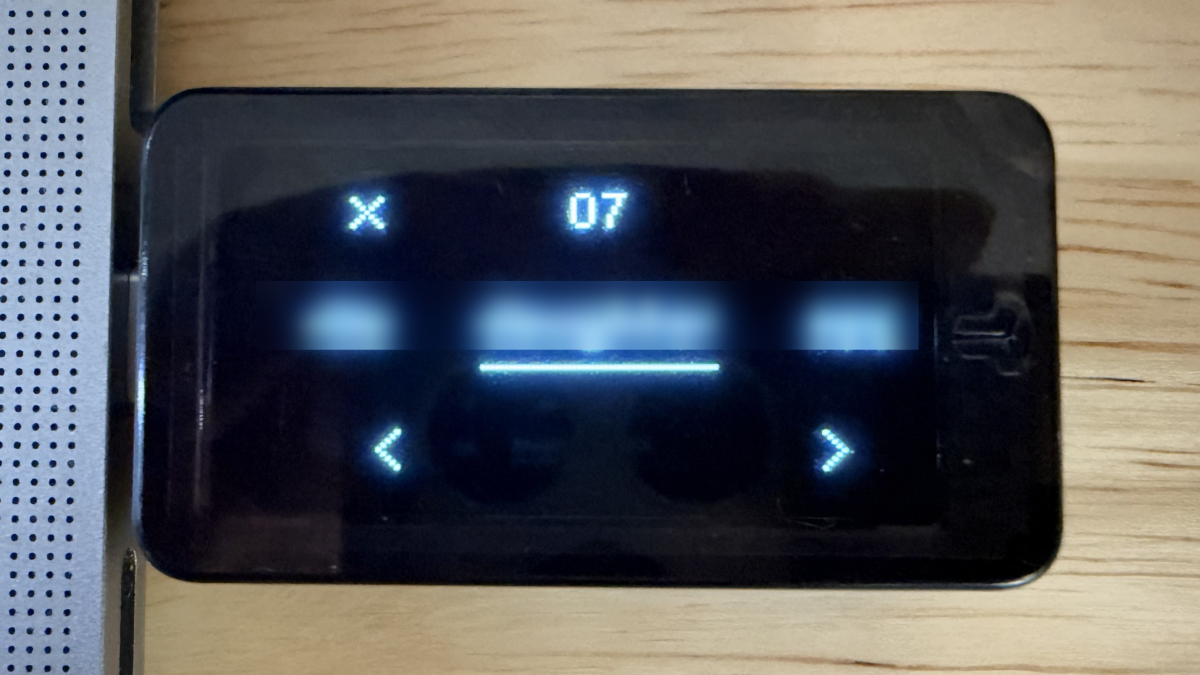
Your BitBox02 now shows your recovery words one at a time on the device screen, each with its number. They never appear in the BitBoxApp.
- Write down each word exactly as shown, together with its number.
- Tap the lower touch edge beneath the right arrow to go to the next word, or beneath the left arrow to go back.
- After the last word, check the spelling, order, and that all 24 words are there, then select 'Continue' on the device.
The word number is shown at the top (for example 07) and the word is underlined in the middle. The arrows at the bottom move between words.
Your recovery words are a copy of your private key. Never photograph them, read them aloud, or type them into the BitBoxApp, a website, a password manager, cloud storage, a chat, or an AI tool. Neither Casa nor BitBox will ever ask for them.
Step 10: Verify your recovery words
Your BitBox02 will now check that you wrote the words down correctly:
- The device shows a word number. Find that word on your written copy.
- Use the touch edges beside the arrows to move through the five choices, then tap beside 'Select' to choose the matching word.
- Repeat for each word the device asks for.
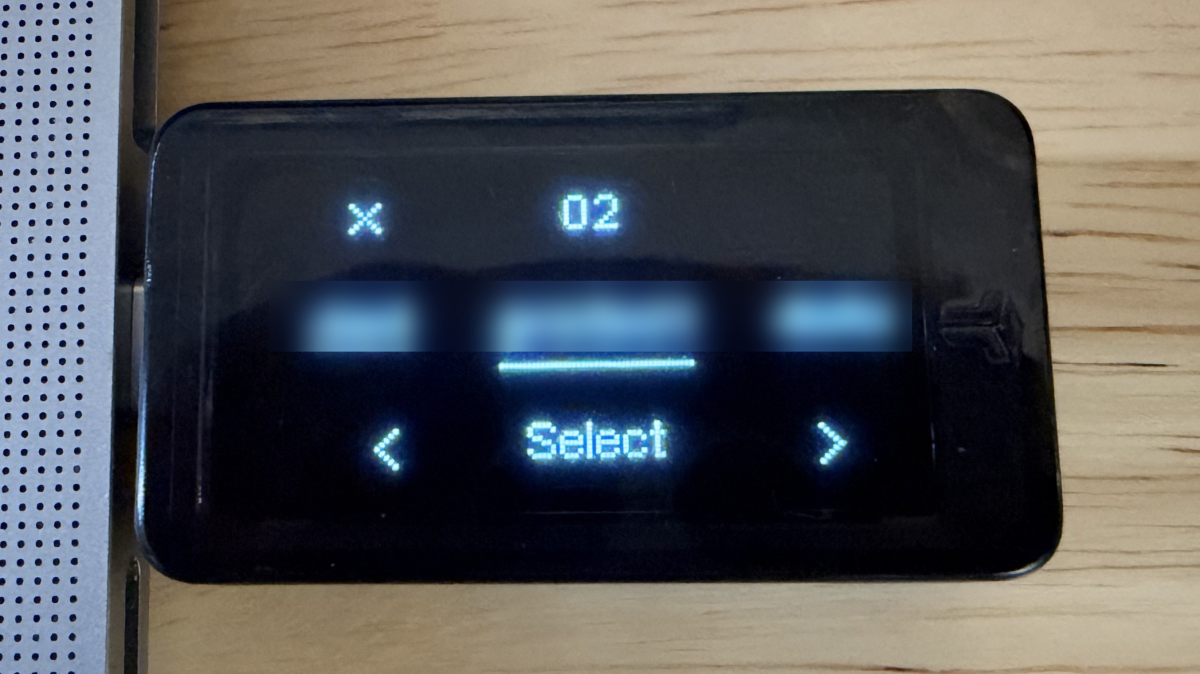
If the device says a word is wrong, compare it with your written copy and select again. If you can't resolve the difference, stop: do not reset the device or add it to your Casa vault, and contact BitBox support.
When the BitBoxApp shows 'You're ready to go!', click 'Get started'.
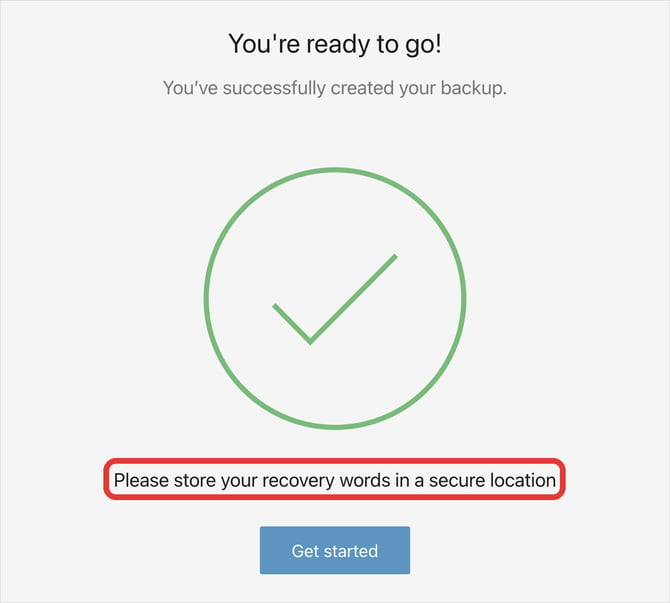
All done with setup!
Keep your BitBox02 somewhere safe and secret. Even before it secures any funds, protecting it from tampering is very important.
Next step: add your BitBox02 to your Casa vault
Need help with setup?
If you run into issues during setup, such as the device not being recognized, firmware update errors, or trouble with the password, check BitBox's BitBox02 setup guide and support site, or our hardware device troubleshooting guide.
Never share your device password, recovery words, passphrase, or backup contents with anyone, including BitBox or Casa support. Hide them in any screenshots you send.
If the issue is related to adding the device to your Casa vault:
- Standard and Standard Plus members: email help@team.casa with a description of the error and which step you are on. Include a screenshot of any error message if possible.
- Premium and Private Client members: reach out to your dedicated Client Advisor directly.